
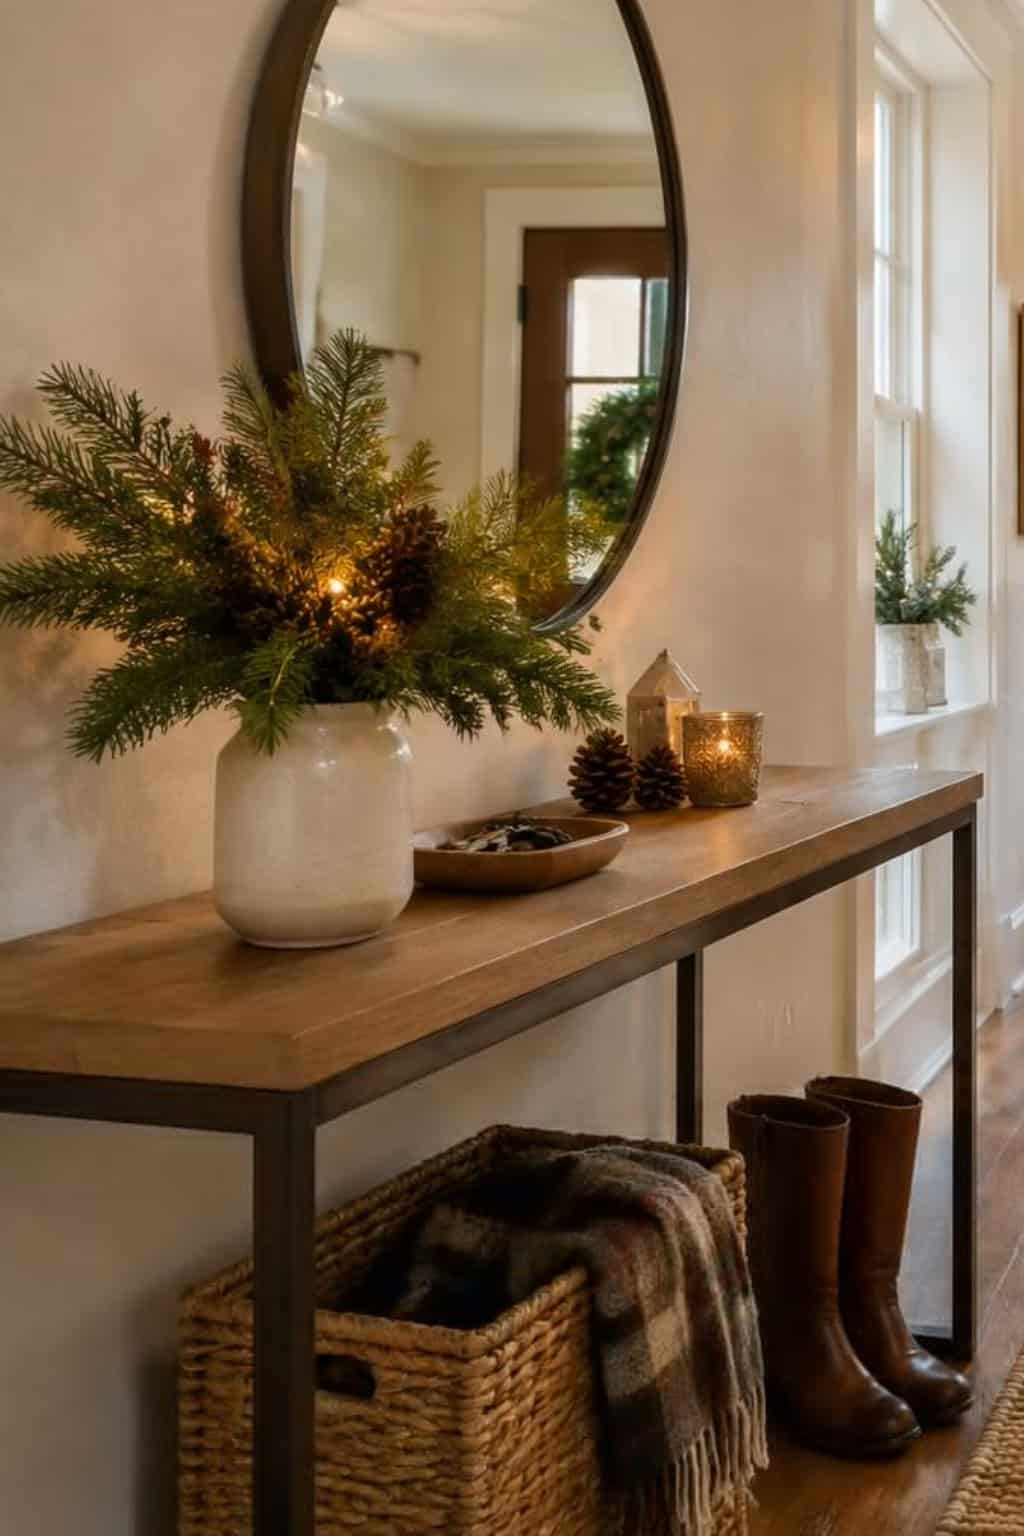
A hallway table is the first surface anyone sees when they step inside, and it’s usually narrow, busy, and asked to hold keys and mail all year.
That makes it a tricky spot to decorate for Christmas, and a rewarding one when you get it right.
The ideas below are all DIY-friendly.
Choose pieces that fit the depth of your console without hanging into the walkway or blocking the door.
Pick a few ideas that suit your style and table size, leaving a clear spot for keys and mail.
Table of Contents
Start with Greenery and Natural Textures
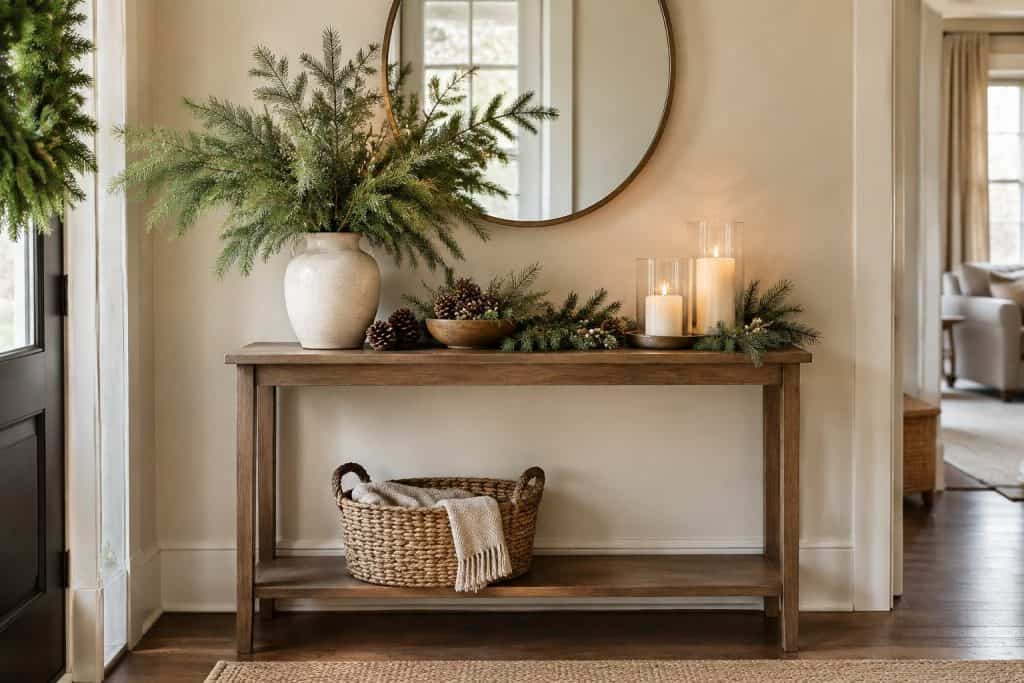
Evergreen is the easiest foundation for a festive hallway table because it adds color, scent, and texture in one step.
Pine, cedar, fir, and eucalyptus work equally well, and pinecones, baskets, and wood tie the look together.
1. Drape a Slim Evergreen Garland Along the Table
Measure the tabletop and decide how much garland you want at each end.
On a 4-foot console, a 6-foot garland leaves about a foot to drape down each side.
Choose a slim garland about 4 to 6 inches wide so it leaves room for everyday items.
Keep trailing ends clear of handles, the doorway, and anyone walking past.
Fluff each branch tip outward before laying it down.
Flat-packed faux garland looks thin until you separate the needles by hand.

Shop This Idea
6-Foot Faux Spruce Garland
View on Amazon (paid link) →2. Arrange Pine Branches in a Tall Vase
A tall vase of branches gives your table height, which narrow surfaces often lack.
Use a heavy, broad-based vase that sits fully on the table.
Add a few branches at a time and trim them until the arrangement is stable and clear of the walkway.
If you forage branches from your yard, strip the needles below the waterline and change the water every few days.
Keep fresh branches away from heat and replace them when they become dry or brittle.
Faux stems give a similar shape without water changes.

Shop This Idea
36-Inch Faux Pine Branches
Tall artificial stems; check vase stability and clearance above the table.
View on Amazon (paid link) →3. Display a Mini Christmas Tree
A tabletop tree between 18 and 24 inches tall suits most hallway tables without crowding the wall.
Set it inside a woven basket to hide the plastic stand and add warm texture.
Keep the decorations small.
A strand of battery-powered micro lights and a handful of mini ornaments are enough.

Shop This Idea
2-Foot Lighted Tabletop Tree
View on Amazon (paid link) →4. Gather Pinecones and Greenery on a Tray
A tray keeps loose natural pieces contained, so the arrangement lifts off in one move when you need to dust.
Measure the table’s depth before choosing a tray, and leave space around its edges so it sits securely.
For a snowy finish, brush the pinecone tips with a little white craft paint.
Let the paint dry for the time stated on its label before styling.

Shop This Idea
Pinecone and Natural Bowl Filler Set
A mixed filler set; the tray is separate.
View on Amazon (paid link) →5. Hang a Wreath Above the Table
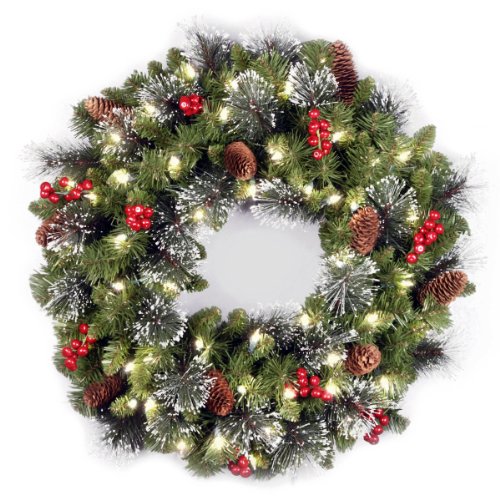
A wreath on the wall above your table adds impact without using any surface space.
Choose a diameter about half to two-thirds the width of your table; a 20- to 24-inch wreath suits a 40-inch console.
Try hanging it with the bottom 8 to 12 inches above the tabletop, adjusting around lamps and other objects.
Use a hook rated for the wreath’s actual weight and approved for the wall surface.
Check your lease before using adhesives, and follow the hook’s preparation, waiting-time, and removal directions.
Weak or uncured paint can still come away during removal.
Shop This Idea
24-Inch Lighted Spruce Wreath
View on Amazon (paid link) →Add a Warm Holiday Glow
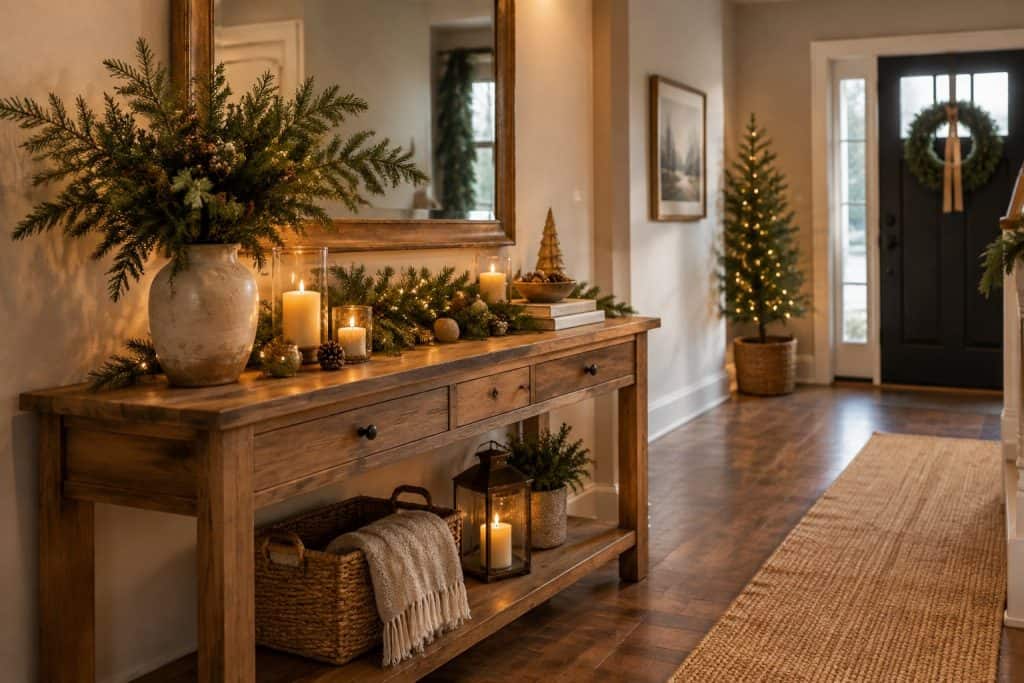
Soft lighting turns a hallway table into a welcoming spot after dark.
Battery-powered candles and warm white LEDs give you glow without an open flame near coats, scarves, and passing guests.
6. Place Battery-Operated Candles in Lanterns
Lanterns frame candlelight and add height, while battery candles avoid an open flame near coats and passing guests.
Use one tall lantern (14 to 18 inches) or a pair in different heights for a staggered look.
Look for candles with a built-in timer and start the cycle at the time you want them to come on.
Check the stated run time; a repeating timer follows that schedule rather than tracking sunset.

Shop This Idea
14-Inch Flameless Candle Lantern
A ready-made lantern with an LED candle and an 8-hour timer.
View on Amazon (paid link) →7. Fill a Glass Jar with Fairy Lights
A clear jar packed with fairy lights is one of the fastest DIY projects you can make.
Use a clear jar or vase and a short battery-powered LED strand sized to fit it.
Keep the battery compartment dry, closed securely, and away from children, especially if it uses small button batteries.
Wide mason jars, old hurricane glasses, and apothecary jars all work.
Group two jars of different heights for more presence.

Shop This Idea
Warm-white battery fairy lights
Use in a dry jar and keep the small battery packs secure and out of children's reach.
View on Amazon (paid link) →8. Set Up a Small Light-Up Christmas Village
A mini village adds charm and a nostalgic glow.
On a narrow table, three or four small houses in a row look intentional and fit the depth.
Set houses on a stable surface and tuck a little faux snow around them, keeping it clear of bulbs, vents, and power components.
Battery-operated houses reduce the number of cords running down the table leg.

Shop This Idea
Lighted Ceramic Christmas Village
Includes three houses, two lighted ceramic trees, and small figures.
View on Amazon (paid link) →9. Frame a Mirror with Soft String Lights
If your table sits beneath a mirror, lights around its frame add reflected sparkle.
Use a thin warm white strand with clips approved for the frame material, following the light and clip instructions.
Keep cords clear of sharp edges.
Weave a slim garland through the lights for extra texture.
Keep the strand behind the frame’s outer lip so bulbs glow without the wire showing.

Shop This Idea
Lighted Cedar Mirror Swag
A 6.2-foot swag with a large burgundy bow, rather than a plain light strand.
View on Amazon (paid link) →Bring in Classic Christmas Accents
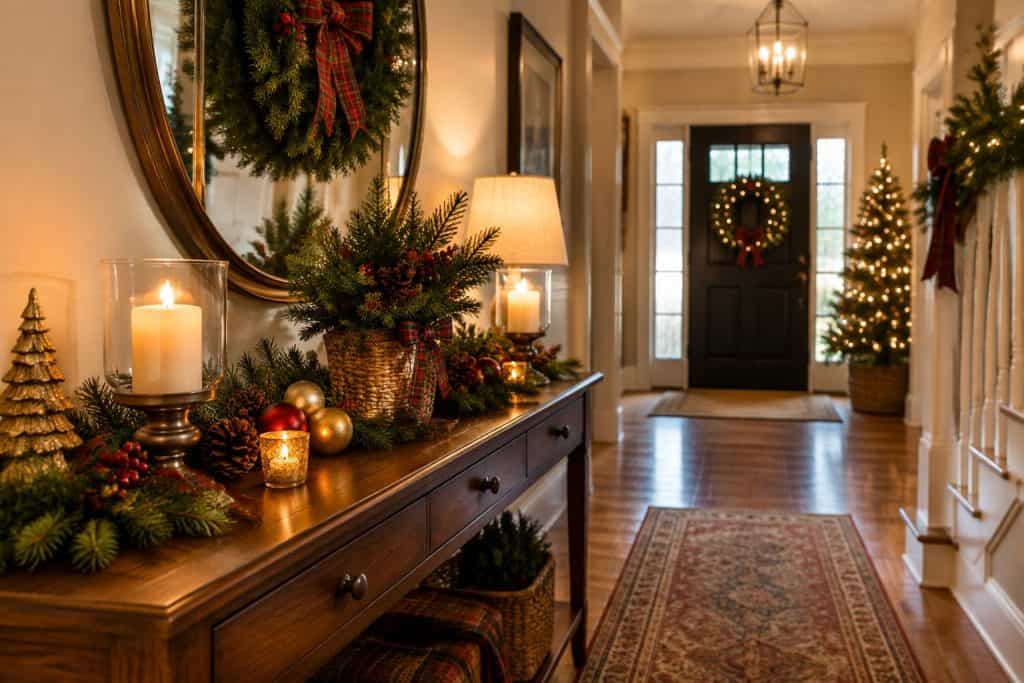
Ornaments, nutcrackers, and wrapped boxes deliver instant Christmas recognition.
Use one or two of these per table so each piece gets attention.
10. Fill a Glass Cloche with Ornaments
A cloche turns a handful of ornaments into a display piece and helps keep dust off them.
Set it toward the back of the console where it’s less likely to be knocked.
Choose a cloche 8 to 12 inches tall with a wood or marble base.
Fill it with a small pile of ornaments, a mini bottlebrush tree, or a single heirloom ornament on a stand.
Sentimental pieces look especially meaningful under glass.

Shop This Idea
Glass display cloche with wood base
An empty dome for your own small ornaments; check the interior dimensions before filling.
View on Amazon (paid link) →11. Style a Pair of Nutcrackers
Matching nutcrackers at each end of the table create instant symmetry.
Pieces 12 to 15 inches tall suit most consoles; taller ones can look top-heavy on a slim surface.
Place them facing slightly inward toward the center.
That subtle angle draws the eye to whatever sits between them.

Shop This Idea
12-Inch Wooden Nutcrackers
A set of four; display a pair and save the others for another spot.
View on Amazon (paid link) →12. Stack Small Wrapped Gift Boxes
Wrapped empty boxes add color and height, and they don’t matter if they get knocked around in a busy hallway.
Use three boxes in graduated sizes, such as 8, 6, and 4 inches, stacked from largest to smallest.
Wrap them in one coordinated paper or kraft paper tied with velvet ribbon.
Add a greenery sprig or a small bell to the top box.
Tape the boxes together underneath with double-sided tape so the stack lifts as one piece when you clean.
13. Display Vintage Christmas Cards
Vintage cards add nostalgia and cost almost nothing if you already have a collection.
Estate sales and antique shops sell old cards in bundles for a few dollars.
Prop two or three upright in small picture stands, or clip them to a slim piece of twine tied between two candlesticks.
A shallow tray also works as a spot to collect cards you receive during the season.

Shop This Idea
Vintage-Style Christmas Greeting Cards
New 4×6-inch cards for a retro display.
View on Amazon (paid link) →Make the Display Personal and Space-Smart
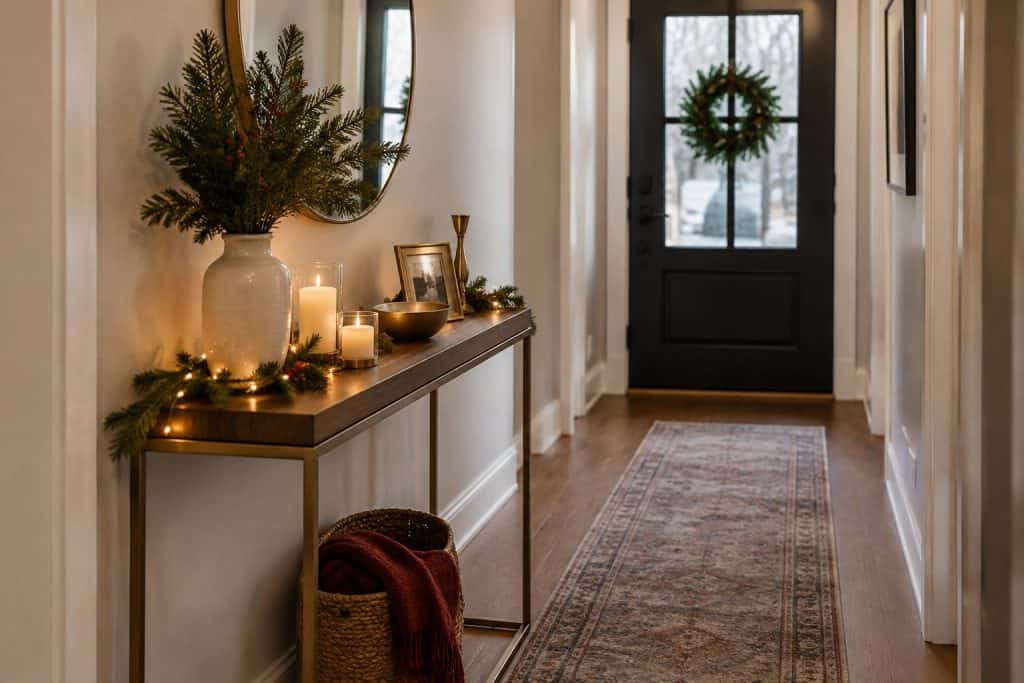
Textiles, ribbon, and personal touches use little surface space.
On a very narrow table, choose one small frame and a slim runner, leaving room for everyday items.
14. Layer a Holiday Table Runner
A runner sets the color palette and softens the display.
Choose one narrower than the tabletop; a 12- to 14-inch runner needs a table deeper than that, while a 10-inch-deep console needs a slimmer strip.
Plaid, linen, and velvet all read as seasonal.
Neutral linen lets greenery stand out, while red plaid gives a traditional cabin feel.

Shop This Idea
Red Christmas Table Runner
Measures 13×72 inches; choose it only if your console is deeper than 13 inches.
View on Amazon (paid link) →15. Add a Framed Seasonal Greeting
A small framed sign adds a personal message and height.
A 5×7 or 8×10 frame is a useful starting size for a compact console.
Larger framed art can work if its base fits securely and leaves room for everyday items.
Use the frame’s stand on a stable part of the table, or secure it if leaning it against the wall.
A small sprig of greenery beside it adds a seasonal touch without covering the message.

Shop This Idea
Framed Holiday Greeting
This 13×16-inch canvas is larger than a small photo frame; check the table space first.
View on Amazon (paid link) →