
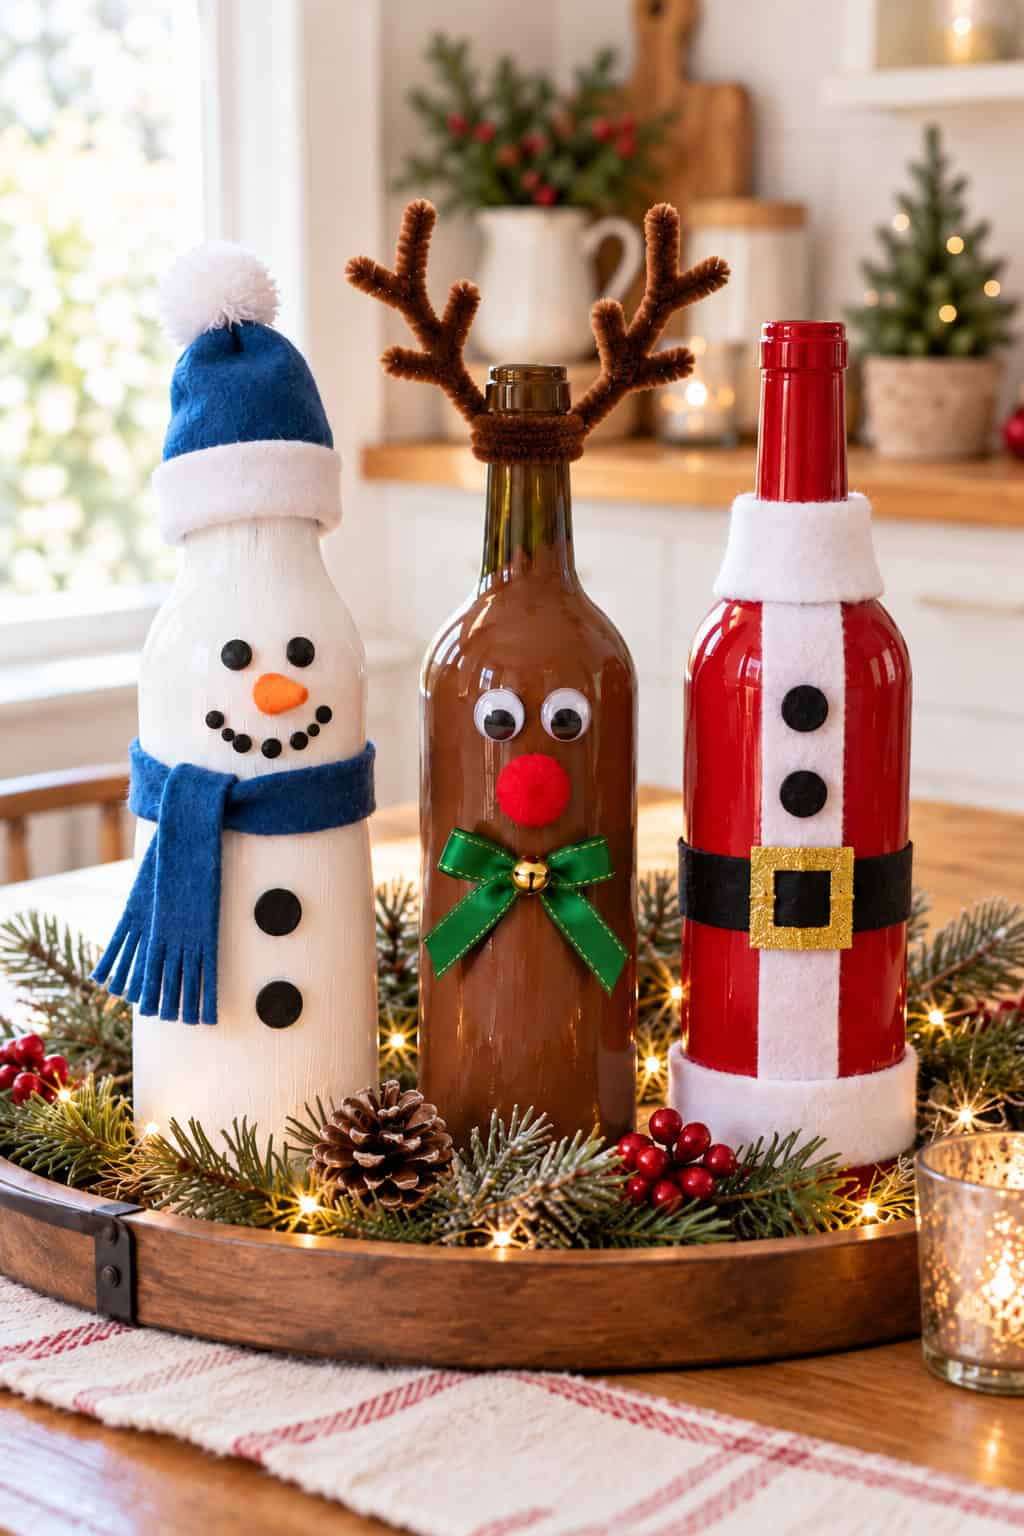
Turn empty wine bottles into adorable Christmas decorations with a little paint and a few inexpensive craft supplies!
This easy DIY project transforms three glass bottles into a cheerful snowman, a red-nosed reindeer, and a Santa-inspired decoration. They’re perfect for Christmas centerpieces, mantel displays, or festive shelf decor.
You don’t need any special crafting skills, and most of the supplies are available at dollar stores.
Materials You’ll Need
- 3 empty glass wine bottles
- Glass-friendly craft paint (white, brown, and red)
- Foam brushes or paint sponges
- Black and orange acrylic paint pens
- Brown pipe cleaners for the reindeer antlers
- 2 googly eyes
- 1 small red pom-pom
- Blue felt for the snowman’s hat and scarf
- White felt and a small white pom-pom
- Black ribbon for Santa’s belt
- Gold craft foam for the belt buckle
- 2 small black buttons
- Small green ribbon for the reindeer
- Hot glue gun and glue sticks
- Scissors
Optional: Faux greenery, pinecones, and battery-operated fairy lights for displaying the finished bottles.
Step 1: Clean and Prepare the Wine Bottles
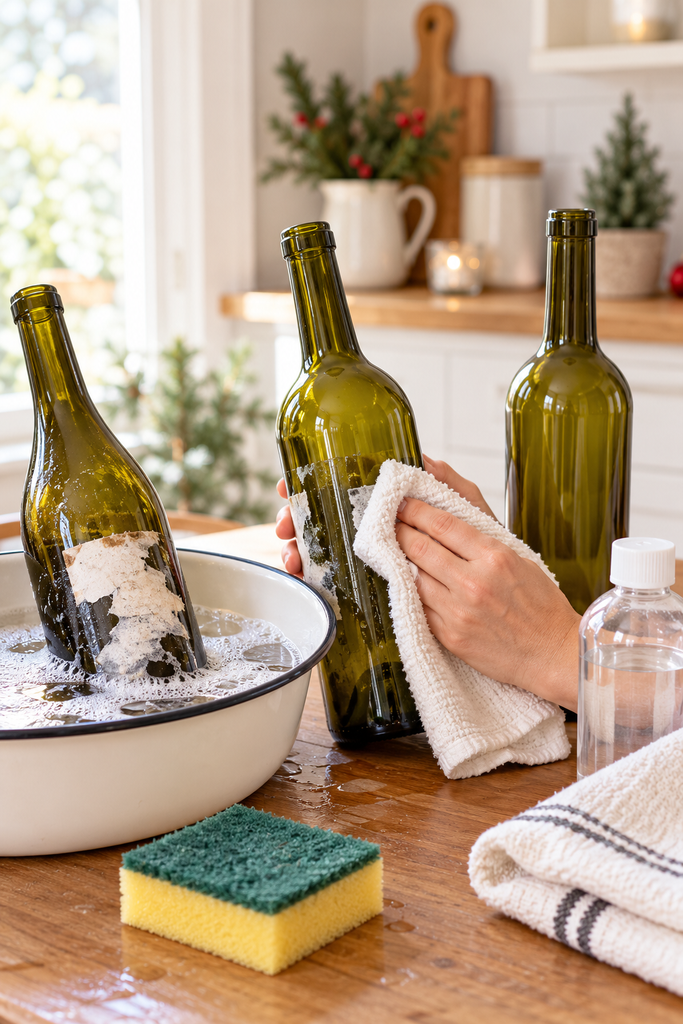
Start by removing the labels from three empty wine bottles.
Soak them in warm, soapy water for about 20–30 minutes to loosen the adhesive. Peel off the labels and scrub away any remaining residue.
Wipe each bottle with rubbing alcohol and let it dry completely.
Choose bottles of similar sizes so your three Christmas characters look like a matching set.
Step 2: Paint the Wine Bottles
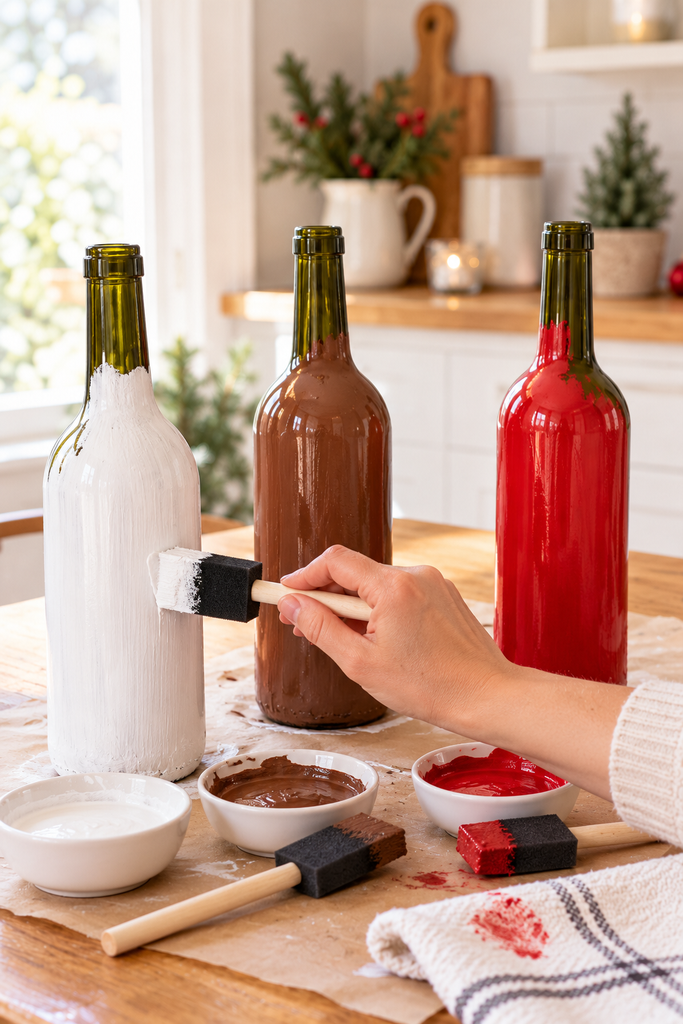
Using a foam brush or sponge, paint each bottle a different color:
- Snowman: White
- Reindeer: Warm brown
- Santa: Classic Christmas red
Apply two thin coats of glass-friendly paint, allowing the first coat to dry before adding the second.
Cover the bottle bodies and necks evenly, but avoid painting inside the openings. Let the paint dry according to the manufacturer’s instructions before decorating.
Step 3: Create the Snowman Bottle
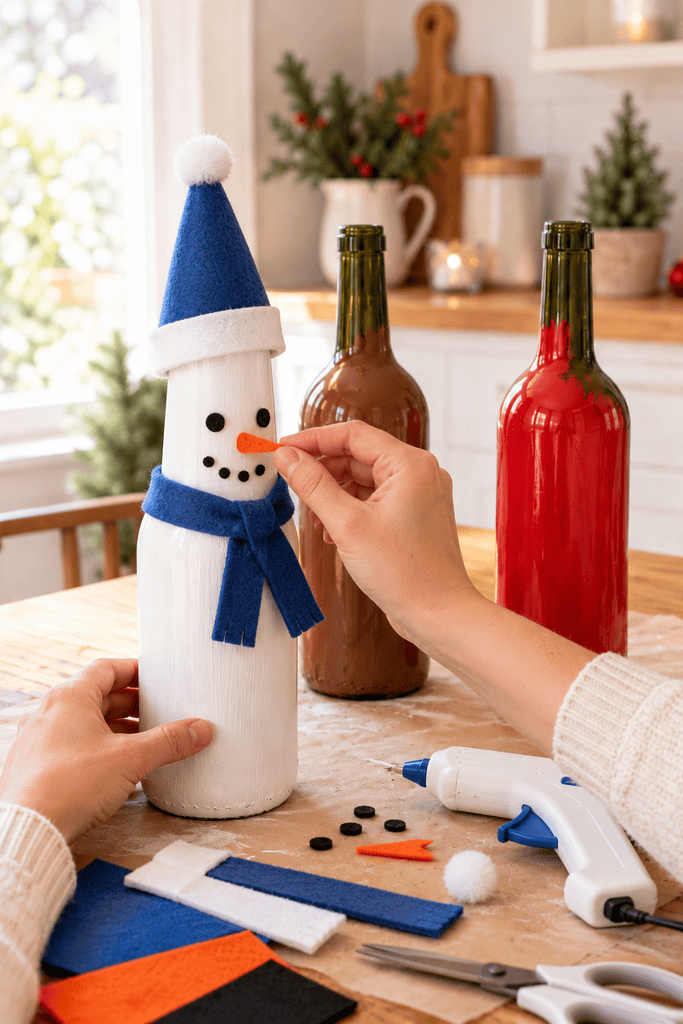
Start with your white-painted bottle.
Use a black paint pen to draw two round eyes and a dotted smile on the upper part of the bottle. Add a small orange carrot-shaped nose between them.
Next, make a winter hat using blue felt. Cut a piece into a simple cone shape, glue the edges together, and fit it over the bottle’s neck.
Add a white felt cuff around the bottom of the hat and glue a small white pom-pom on top.
Finish by tying a narrow strip of blue felt around the bottle below the snowman’s face to create a cozy scarf.
Step 4: Make the Reindeer Bottle
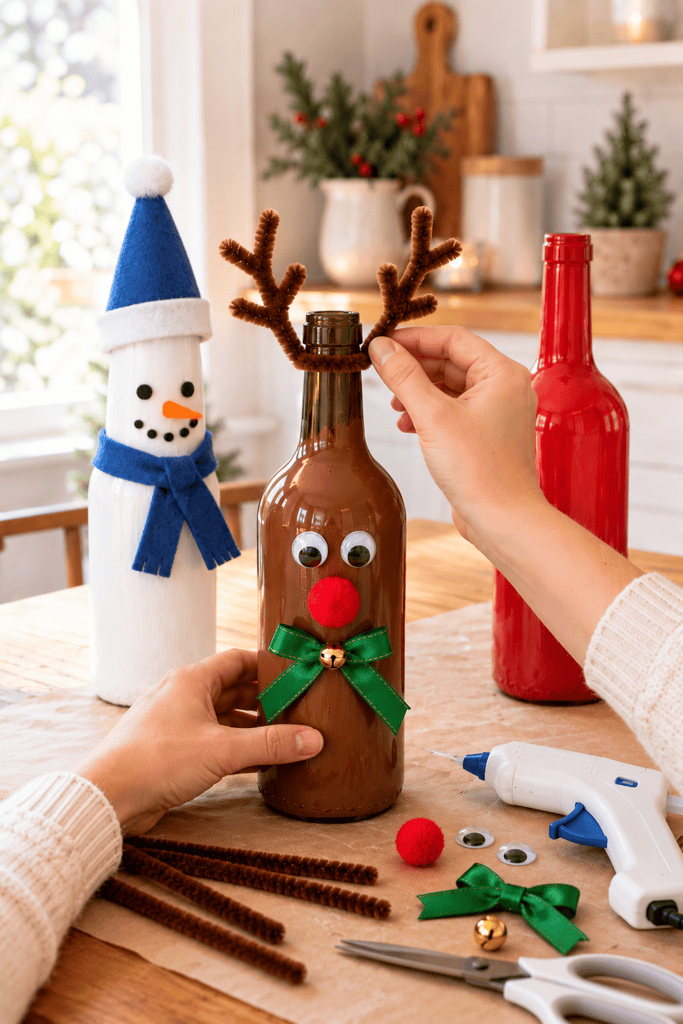
Take your brown-painted bottle and create the antlers using brown pipe cleaners.
Wrap one pipe cleaner tightly around the bottle’s neck, twisting the ends at the back so they point upward and outward.
Cut another pipe cleaner into shorter pieces and twist them onto the two upright ends to create branching antlers. Bend the tips slightly for a natural shape.
Glue two googly eyes onto the upper front of the bottle, followed by a red pom-pom nose just below them.
For a festive finishing touch, tie a small green ribbon bow beneath the reindeer’s face.
Step 5: Decorate the Santa Bottle
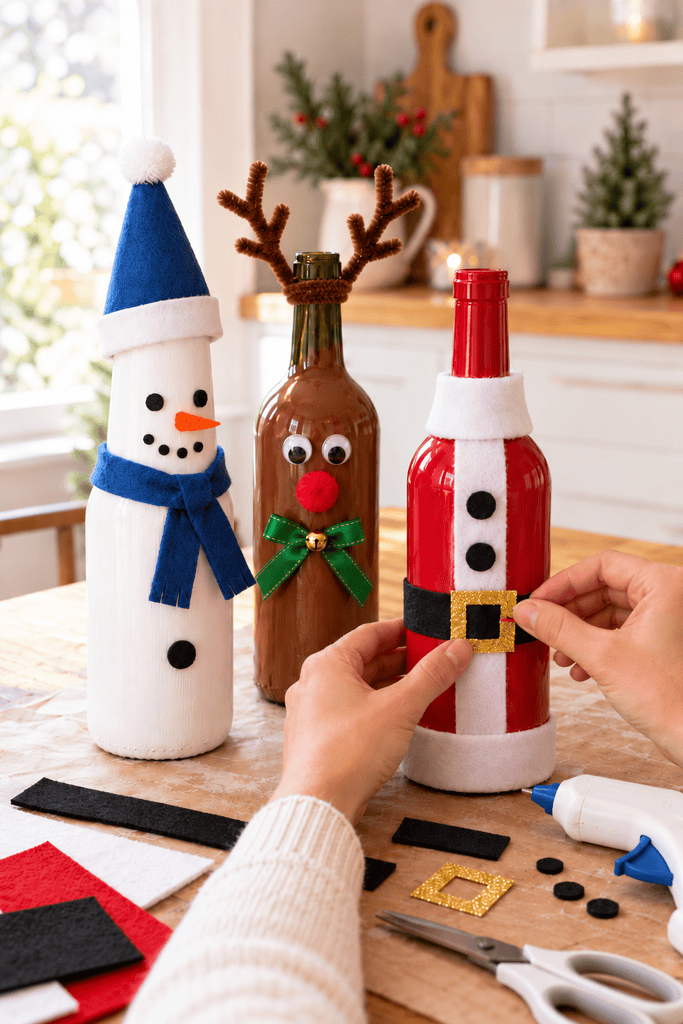
For the Santa bottle, you’ll create a simple red coat with a black belt and white trim.
Cut a narrow strip of white felt and glue it vertically down the center front of the red bottle, stopping where the belt will sit.
Wrap a piece of black ribbon around the widest part of the bottle to form Santa’s belt.
Cut a small square buckle from gold craft foam, remove a smaller square from its center, and glue it over the black ribbon.
Add two small black buttons beside the white trim above the belt.
Finish with a strip of white felt around the bottom of the bottle and a small white felt collar near the neck.
Your Santa-inspired wine bottle is now complete!
Tips for Making Your Christmas Bottles Look Better
- Use thin coats of paint. Thick paint can create streaks and uneven patches.
- Let everything dry completely. This helps prevent fingerprints and decorations from shifting.
- Keep the antlers lightweight. Pipe cleaners hold their shape better than heavy wooden decorations.
- Use small amounts of hot glue. Too much glue can leave visible bumps around the decorations.
- Work carefully with hot glue. Adults should handle the glue gun when crafting with children.
Create a Christmas Display With Your Finished Bottles
Arrange the three bottles together on a wooden tray, placing the taller reindeer in the center.
Add a few pinecones, faux evergreen branches, or small ornaments around the bases to create a festive Christmas scene.
You can also tuck battery-operated fairy lights behind the bottles for a soft glow without using open flames.
The finished decorations work especially well on a mantel, entryway table, or dining room sideboard. Keep them on a stable surface where they won’t be easily knocked over.