
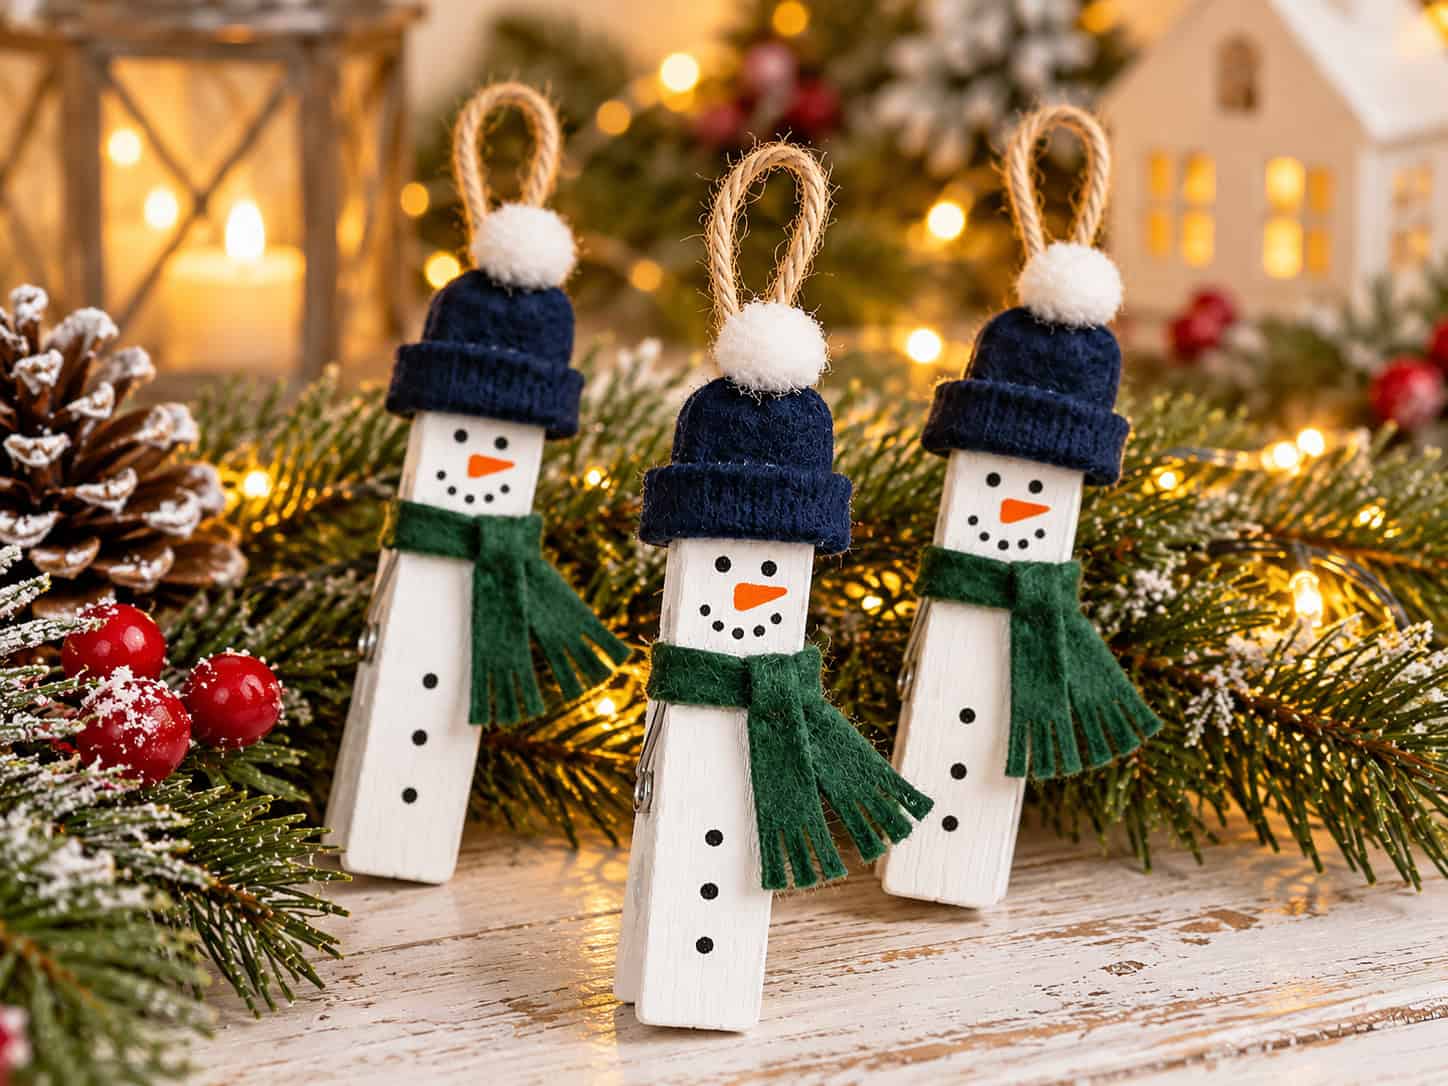
Turn ordinary wooden clothespins into adorable snowman ornaments with this easy Christmas craft! With a little white paint, colorful felt, and a few simple decorations, you can create cheerful snowmen wearing cozy winter hats and scarves.
For this project, we’ll give each snowman a navy blue felt beanie with a white pom-pom, a forest green scarf, and a sweet carrot-nose face. These handmade ornaments are perfect for decorating your Christmas tree, dressing up wrapped gifts, or adding a festive touch to holiday garlands.
Best of all, they’re inexpensive, beginner-friendly, and easy to make in batches.
Materials You’ll Need
- Standard wooden spring-style clothespins
- White acrylic paint
- Black and orange acrylic paint
- Light pink acrylic paint (optional, for cheeks)
- Navy blue felt (for the hats)
- Forest green felt (for the scarves)
- Small white pom-poms
- Twine or thin ribbon (for hanging)
- Small paintbrush and fine detail brush
- Toothpick or dotting tool
- Scissors
- Craft glue or low-temperature hot glue gun
- Fine-grit sandpaper (optional)
As an Amazon Associate, I earn from qualifying purchases.
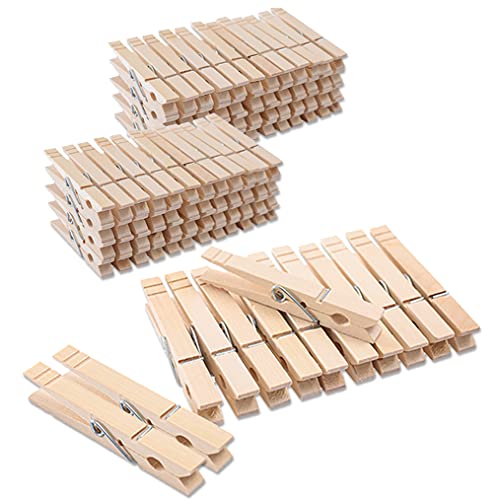
These unfinished spring clips provide the paintable wooden base used in this tutorial.
View on Amazon (paid link) →Step 1: Prepare the Wooden Clothespins

Start with clean, unfinished wooden clothespins. Check for rough edges and lightly sand them if needed.
Place each clothespin upright with the squeezing handles at the top and the gripping end at the bottom. The upper section will become the snowman’s head, while the lower section forms its body.
Make sure the metal springs work properly before decorating.
Step 2: Paint the Clothespins White
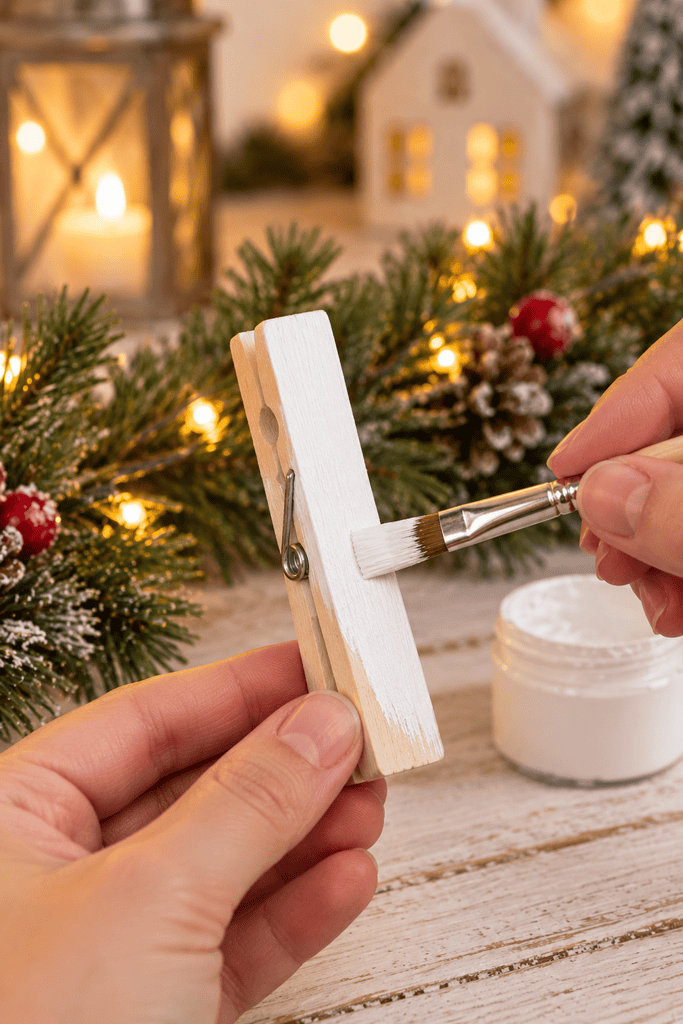
Using a small paintbrush, apply a thin coat of white acrylic paint to the outside surfaces of each clothespin.
Allow the first coat to dry for about 15–20 minutes, then apply a second coat for a smooth, snowy finish.
Avoid painting the metal spring or the inner gripping surfaces so the clothespin can still open and close.
Let the paint dry completely before adding the details.
Step 3: Paint the Snowman’s Face and Buttons
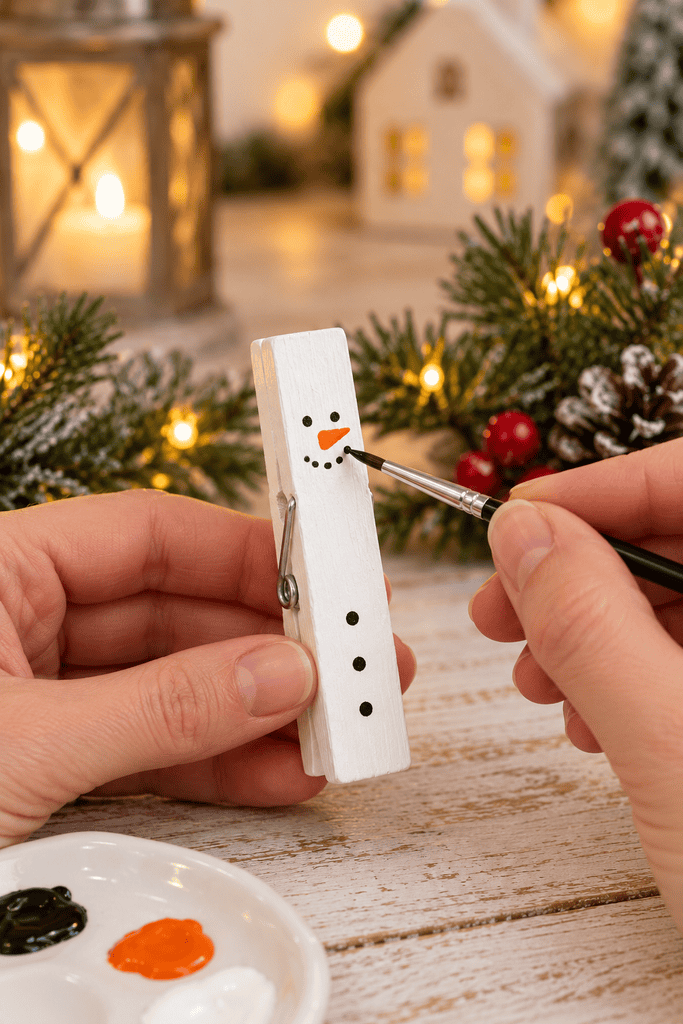
Now it’s time to bring your snowman to life!
Using black acrylic paint and a toothpick, add two small eyes near the top of the clothespin. Paint a tiny orange carrot-shaped nose underneath, followed by a curved smile made from small black dots.
For extra personality, add two light pink cheeks on either side of the smile.
Finish by painting three black buttons down the center of the snowman’s body, leaving room for the scarf below the face.
Allow the painted details to dry.
Step 4: Make the Snowman’s Winter Hat
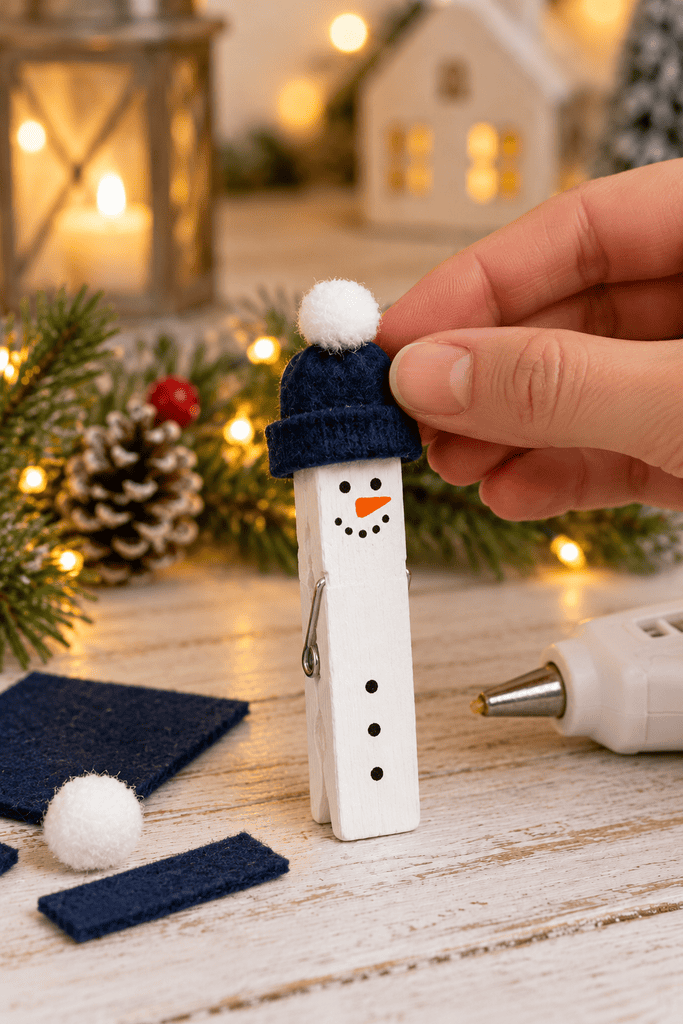
Cut a small rounded beanie shape from navy blue felt, making it slightly wider than the clothespin.
Cut a second narrow strip of navy felt and glue it along the bottom of the hat to create a folded brim.
Attach a small white pom-pom to the top.
Once assembled, glue the hat to the front of the snowman’s head, positioning it just above the eyes. Keep the glue on the front wooden piece rather than joining both moving halves.
Step 5: Add a Cozy Felt Scarf
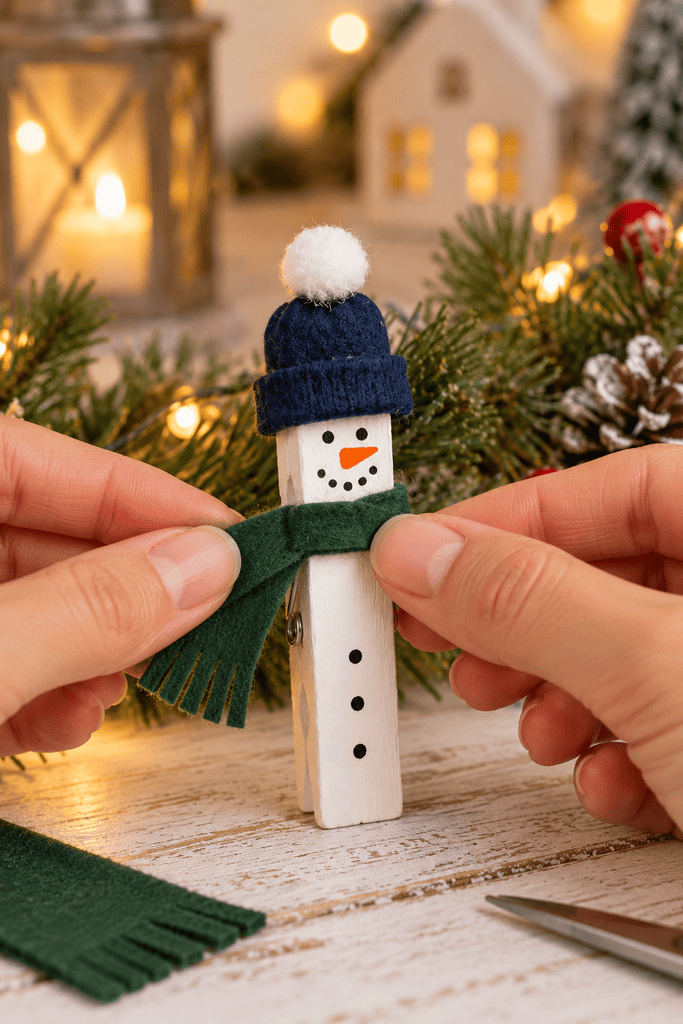
Cut a thin strip of forest green felt approximately ¼ inch wide and 2 inches long.
Position the strip horizontally across the front of the clothespin, just below the snowman’s face. Fold one end downward to resemble a scarf tail.
Secure it with a small amount of craft glue.
For a realistic finishing touch, make a few tiny cuts at the hanging end to create a fringed scarf.
Keep the scarf attached only to the front surface so it doesn’t interfere with the clothespin’s spring.
Step 6: Attach the Hanging Loop
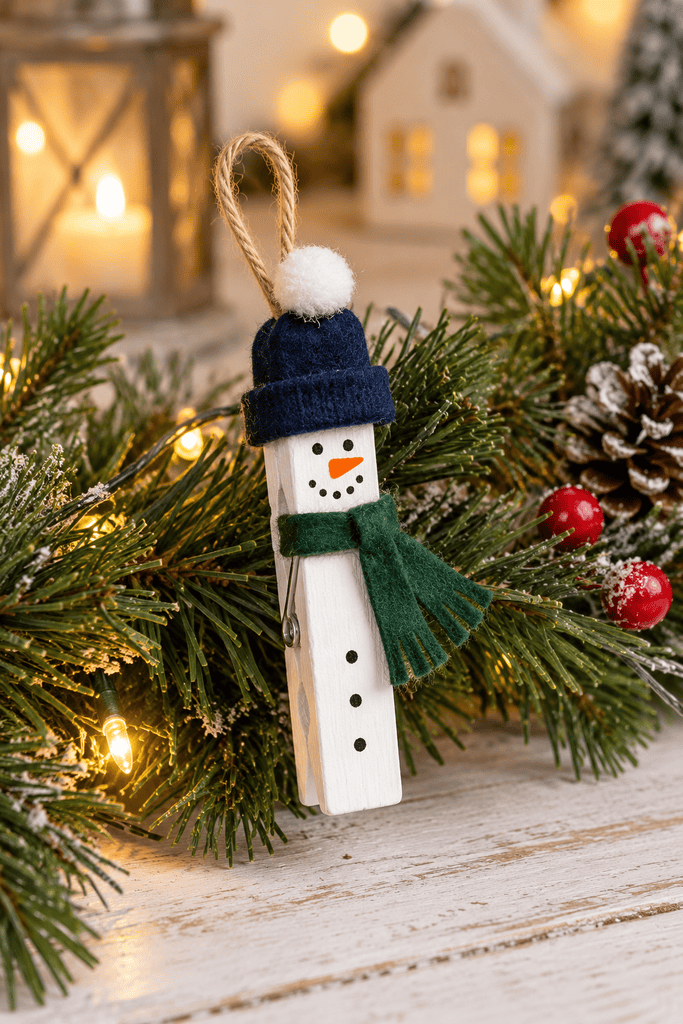
Cut a 6–8 inch piece of twine or ribbon and tie the ends together to create a hanging loop.
Turn the snowman over and glue the knotted end to the back of one upper wooden handle, near the top.
Allow the glue to dry completely before lifting the ornament.
Check that the snowman hangs straight and that the clothespin still opens and closes properly.
Your handmade snowman ornament is now ready for the Christmas tree!
Turn Your Snowmen Into Cute Christmas Gift Clips
These little snowmen can do more than decorate a tree! Since the clothespins still work, you can clip them onto Christmas gift bags, handwritten holiday cards, or wrapped presents.
For a personalized touch, make several snowmen with different hat and scarf colors. Try burgundy with cream, icy blue with silver, or traditional red and green to create a coordinated set.
You can even write a recipient’s name on a small gift tag and attach it using the snowman’s clip for a handmade finishing touch.