
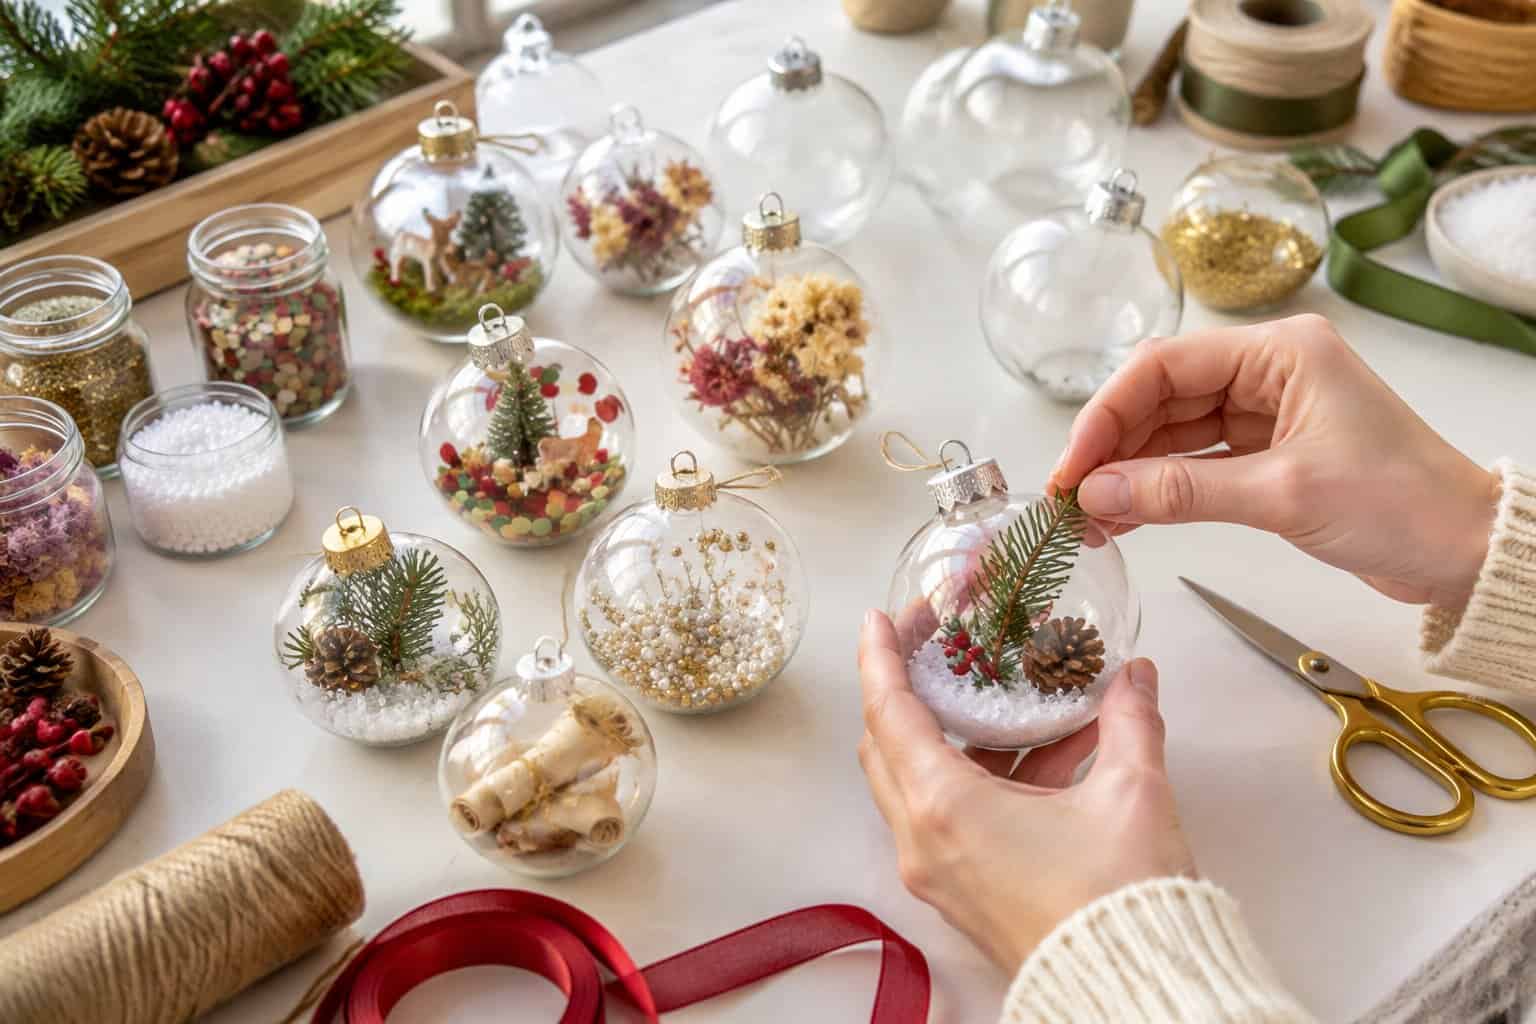
Fill clear ornaments with paper keepsakes, colorful scraps, or miniature scenes. Use two-piece plastic shells for bulky fillers, supervise small parts, and check the hanger can carry the filled weight.
As an Amazon Associate, I earn from qualifying purchases.
Table of Contents
Easy Fillers for a Quick Start
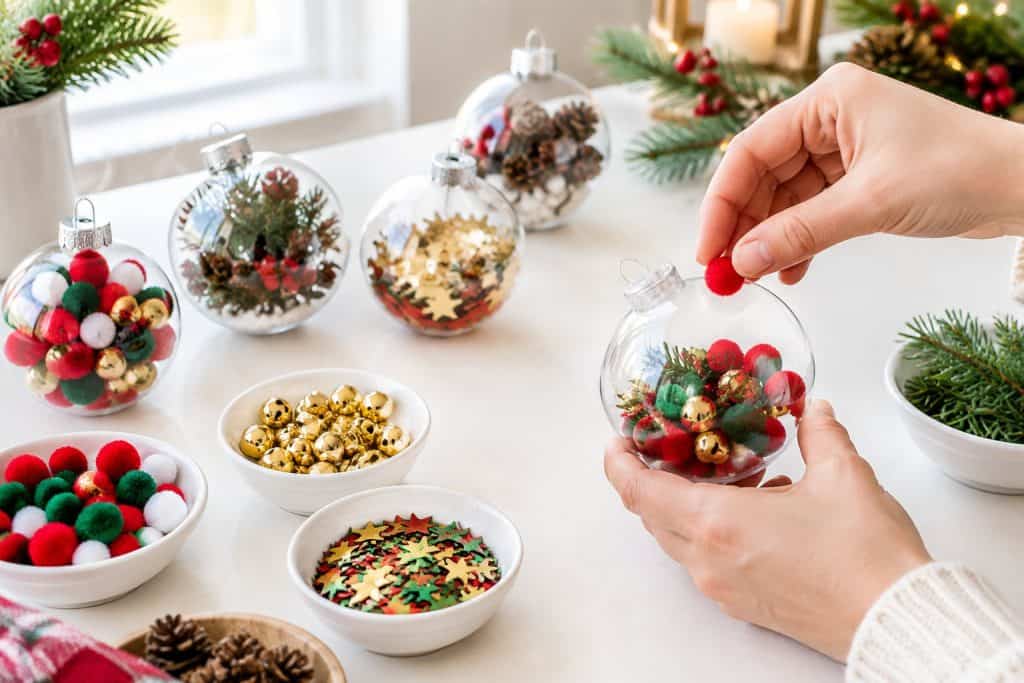
Pom-poms and ribbon scraps are quick fillers with no glue or drying time.
Buttons and wrapped candy also work if they fit the opening and don’t make the ornament too heavy.
Colorful Pom-Pom Ornaments
Add small pom-poms a few at a time, using two sizes to fill gaps. Choose two or three colors and guide them gently through the opening with a blunt craft stick.

Check that the small pom-poms fit through your ornament opening.
View on Amazon (paid link) →Button-Filled Ornaments
Sort small buttons by color and add a shallow layer to a plastic shell. Keep the fill light and check the cap and hanger before displaying it.

Pick the smaller buttons for narrow-neck ornaments.
View on Amazon (paid link) →Ribbon Scrap Ornaments
Curl short ribbon scraps inside the shell, mixing satin and textured ribbon if you like. Tie a matching bow at the top.
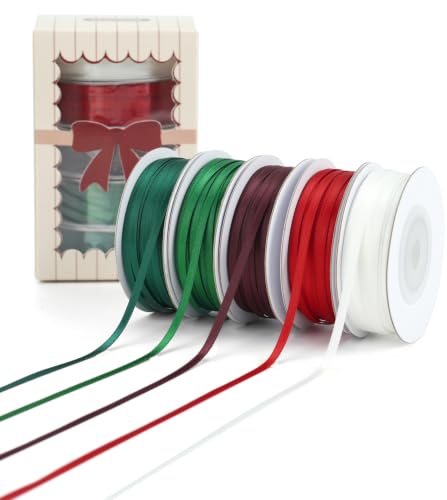
Snip short lengths to curl inside the clear shell.
View on Amazon (paid link) →Wrapped Candy Ornaments
Choose an unpainted, two-piece shell explicitly labeled for food use and add individually wrapped sweets. Keep wrappers intact and store the ornament away from heat, pets, and young children.

A star-shaped alternative for wrapped sweets; keep wrappers intact.
View on Amazon (paid link) →Personal Keepsakes and Gifts
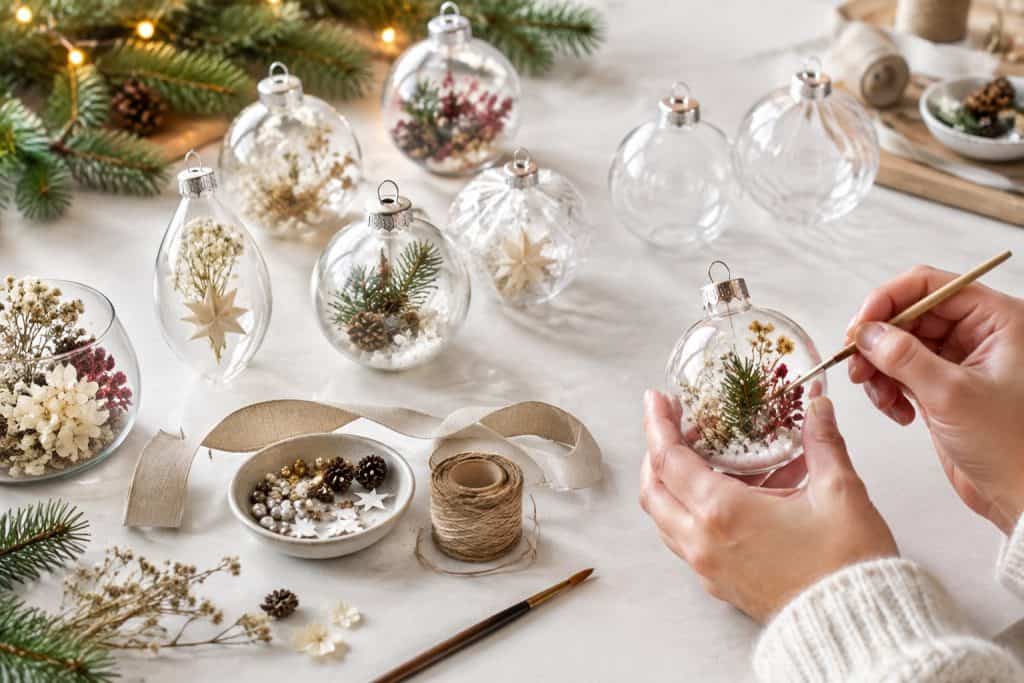
Keepsake ornaments turn ordinary paper into something you’ll unpack every year.
Photos, handwriting, travel maps, and dated mementos give the clear shell a story that a store-bought ball can’t match.
Rolled Photo Ornaments
Print a copy of a photo on thin paper, trim it to fit, and roll it gently through the ornament’s neck. Unfurl it with a blunt stick and add a little light filler behind it.

The removable top lets you insert a rolled photo; check the opening size first.
View on Amazon (paid link) →Handwritten Message Ornaments
Copy a meaningful note or write a short message on vellum, then roll it inside the ornament. Keep irreplaceable originals safely stored elsewhere.

Write your message, let the ink dry, then roll the paper to fit.
View on Amazon (paid link) →Holiday Memory Capsule Ornaments
Collect a small ticket, dried flower, or handwritten memory from the year in a two-piece shell. Label it with the date so the collection is easy to follow later.

The split shell accommodates keepsakes that will not fit through a narrow neck.
View on Amazon (paid link) →Meaningful Map Strip Ornaments
Cut a printed map of a meaningful place into narrow strips and curl them into the ornament. Mark the location with a small heart before cutting.
Arrange strips from your own meaningful map inside before closing the shell.
View on Amazon (paid link) →Paint and Sparkle Effects
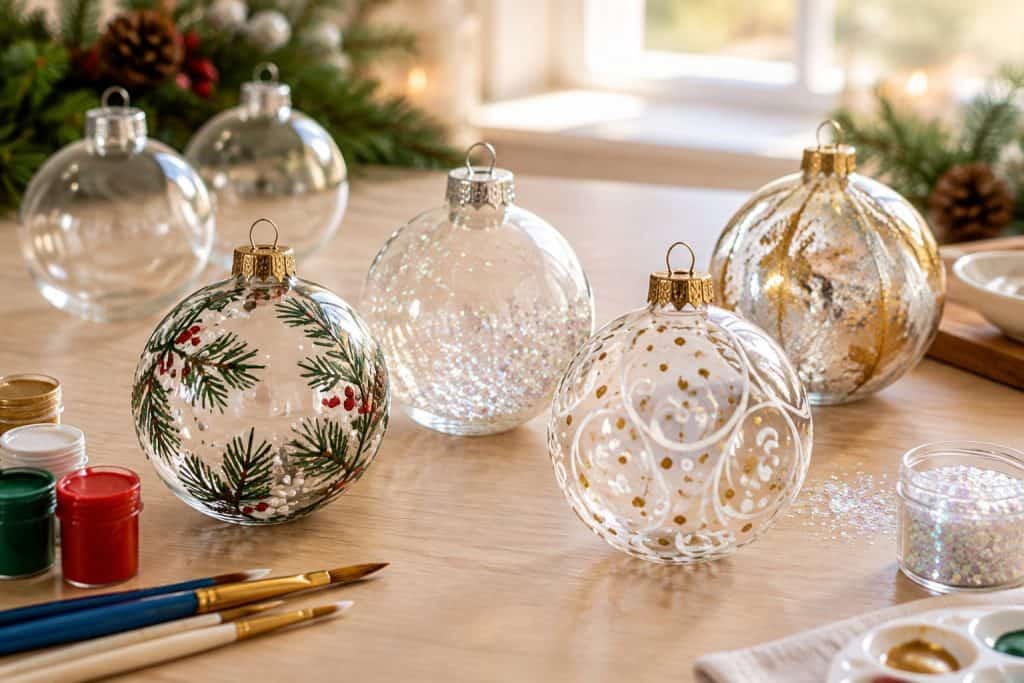
Paint and glitter create the most polished results, and they need the most patience.
Interior finishes keep the mess contained inside the shell, while exterior designs let you add names, patterns, and fine detail.
Swirled Acrylic Paint Ornaments
Add a little acrylic paint suitable for the shell and turn slowly to form swirls. Drain the excess and leave the cap off until the paint has dried fully as directed.
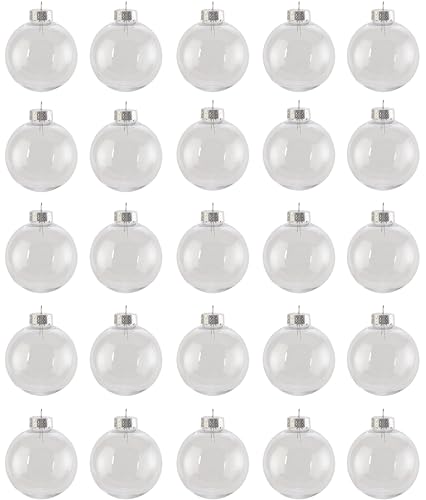
Use paint labeled for the ornament material and test one first.
View on Amazon (paid link) →Glitter-Coated Interior Ornaments
Coat the interior with a suitable clear craft adhesive, add fine glitter, and roll gently to cover. Tap out excess glitter and let the adhesive dry before replacing the cap.

Use a thin interior coating for glitter and drain the excess.
View on Amazon (paid link) →Paint-Marker Pattern Ornaments
Draw a simple snowflake, name, or sprig with a paint marker labeled for the shell material. Rest the ornament in a cup while drawing and let the ink cure as directed.

Fine and broader tips for dots, lines, and simple patterns.
View on Amazon (paid link) →Translucent Color-Wash Ornaments
Apply a transparent craft paint labeled for your ornament material to create a soft color wash. Follow its curing directions; do not heat plastic shells to cure glass paint.
Start with a clear blank and a translucent coating compatible with plastic.
View on Amazon (paid link) →Natural Fillers for a Cozy Look

Natural fillers bring warmth, texture, and scent to your tree.
Citrus, spices, herbs, and small cones add texture; dry them completely and check for dampness or mold before packing them away.
Dried Orange Slice Ornaments
Place a fully dried orange slice inside a two-piece shell large enough to hold it without bending. Add a dried or faux herb sprig, checking that no moisture remains before closing.

Choose a two-piece ornament large enough for the slice.
View on Amazon (paid link) →Cinnamon Stick and Clove Ornaments
Add short cinnamon pieces, a few cloves, and star anise for warm brown texture. Use dry spices; a closed shell will release little scent.

Use small dry pieces and avoid overfilling the ornament.
View on Amazon (paid link) →Dried Herb Ornaments
Place fully dried herb sprigs inside the shell and add a small label. Rosemary gives the look of a miniature evergreen; avoid enclosing fresh, damp stems.

Includes dried rosemary and lavender; use a small pinch in each ornament.
View on Amazon (paid link) →Tiny Pinecone and Evergreen Ornaments
Pair miniature pinecones with dried, preserved, or faux greenery. Check their size against the shell opening and add just a pinch of faux snow.

Use a split-shell ornament so the cones do not need to pass through a narrow neck.
View on Amazon (paid link) →Miniature Scenes and Playful Details
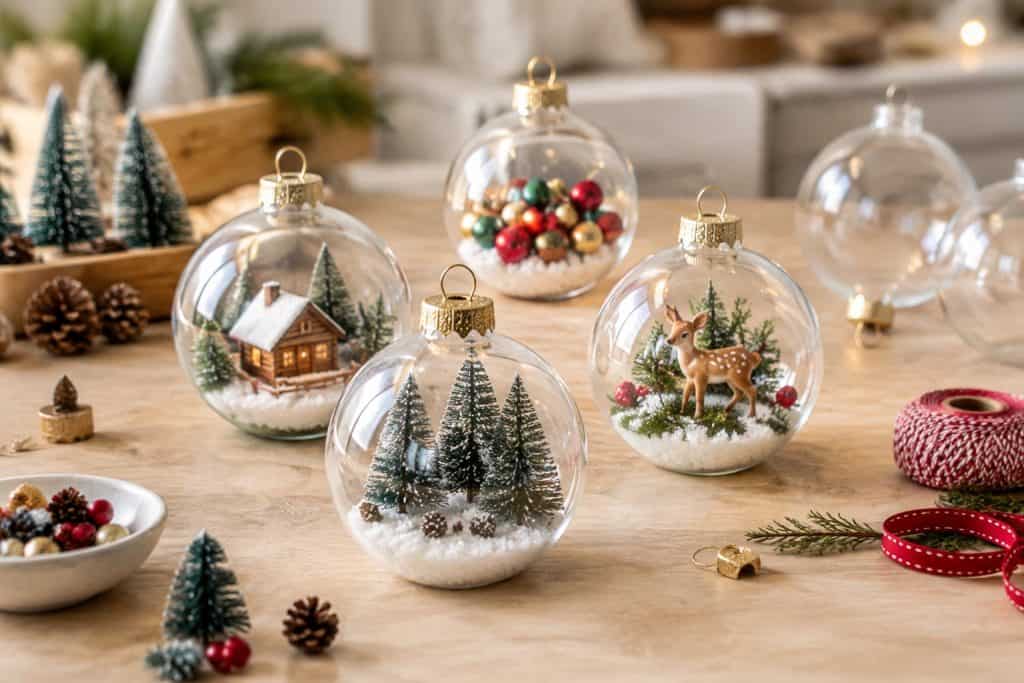
Miniature scenes turn each ornament into a tiny world worth leaning in to see.
Faux snow, dollhouse pieces, folded paper, and bells add movement and charm, and they reward the extra assembly time.
Faux-Snow Woodland Ornaments
Glue a tiny tree and animal figure to a cardstock disc that fits a two-piece shell. Let the glue set before placing it inside and adding loose faux snow.

The 1.7-inch trees suit a roomy split-shell ornament; check the base fit too.
View on Amazon (paid link) →Tiny House Scene Ornaments
Set a miniature house on a small cardstock base inside a two-piece ornament. Glue it securely and let it dry before adding a path or other tiny details.

Use a split-shell ornament that accommodates the one-inch house.
View on Amazon (paid link) →Origami Crane Ornaments
Fold a tiny crane from origami paper and place it in a two-piece shell. Suspend it from the top with thread if you want it to appear to float.

Fold one crane first to check it fits your ornament shell.
View on Amazon (paid link) →Jingle Bell Ornaments
Add a few small bells to a sturdy plastic shell, leaving room for movement. Keep the ornament light and check its cap and hanging loop before placing it on a branch.

The 10mm bells add a little shine inside a clear ornament.
View on Amazon (paid link) →